
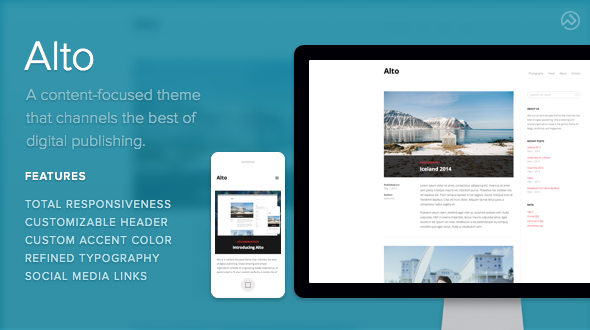
Alto is a content-focused theme that channels the best of digital publishing. Sharp lettering and simple organization provide an engrossing reader experience, all easily tuned to fit your content perfectly. A subtle mix of traditional and contemporary aesthetics, Alto is a perfect frame for blogs, portfolios, and magazines.
Overview
- Alto is designed to feel and flow like a digital magazine.
- Make important content permanently prominent using Alto’s sticky posts feature.
- Alto supports standard post types, pages, widgets.
- Keep your readers connected with links to more than 25 social media site.
- Enable proper dialogue with Alto’s optional threaded comments.
Features
Responsive layout
Alto is fully responsive and scales to fit any size device and browser.
Alternate Post Types
No one’s a fan of monotony. That’s why we’ve packed two alternative post types (aka permalink page styles) with Alto:
Default
Alt. 1
Alt. 2
Setup
Setup: Custom Header
Alto gives you the ability to display a custom header with your logo, title, and site description.
To setup your header, login to the Dashboard for your site and from the left-hand menu, selectAppearance > Customize. On the next screen, from the light grey menu on the left, select the Custom Logomenu. Here, you can upload an image to be used as your logo.
Once you’ve uploaded a logo, Alto is designed to display your logo by itself. To switch back to display the title and description of your site, click on the dropdown arrow next to the preview you of your logo and click the blue “Remove Image” text on the bottom right.
Setup: Custom Accent Color
Alto comes with the option of setting one custom accent color. By default, this color is a pink-red (Hex code #f23047). To change the accent color, login to the Dashboard for your site and from the left-hand menu, select Appearance > Customize.
Next, from the light grey menu on the left, select the Colors menu. From here, you’ll have access to a color picker where you can either set your color using the color picker tool, or, by entering a hexadecimal number (e.g. #000000) into the box between the “Current Color” and “Default” buttons.
As you change your color, the preview on the right will update to reveal your changes in real time. Once you’ve picked a color, click the blue “Save & Publish” button at the top of the grey menu to save your changes.
Setup: Alternative Single Post Layouts
Alto comes with the option of changing the style of your single post layout (also know as the “permalink page” for your posts). To change the style of the single post layout, login to the Dashboard for your site and from the left-hand menu, select Appearance > Customize.
On the next screen, from the light grey menu on the left, select Single Post Style. In total, the theme supports three styles: the Default style, Alternative Style 1, and Alternative Style 2. To set one of the alternative styles, select the option from the dropdown under the “Select a Single Post Style” label.
Important: If you’d like to preview the single post style live, click on one of the posts for your site while you’re in the customize panel. When you select an option, the page will automatically update to display the changes before you save.
Once you’ve chosen the single post style that looks best for your site, click the blue “Save & Publish” button on the of the light grey menu to save your changes.
Setup: Social Media Links
Alto gives you the option of adding in social media links to your favorite social networks to the right-hand side of the theme’s footer. To add your social media profiles, log into the Dashboard for your site and (from the left-hand menu) select Appearance > Customize.
On the next screen, from the light grey menu on the left, select the Social Icons menu. This will reveal a list of input fields, one for each social network that Alto supports. To add a network to your theme, just type the full URL of your profile on that network. For example, if you’d like to add your Twitter profile, you would would find the Twitter URL field and type http://twitter.com/[your user name]. Don’t forget the http:// at the beginning!
Currently, Alto offers support for: Bandcamp, Behance, Del.ico.us, DeviantArt, Digg, Dribbble, Etsy, Facebook, Flickr, Foursquare, Github, Instagram, Last.fm, LinkedIn, Pinboard, Pinterest, Rdio, Skype, Soundcloud, Spotify, StumbleUpon, Svpply, Twitter, YouTube, Google Plus (+), MySpace, and Vimeo.
Once you’ve added your links, click the blue “Save & Publish” button at the top of the light grey menu to save your changes.
Setup: Comments
Alto supports comments out of the box, so you can start posting and holding discussions around your content immediately. WordPress does, however, give you options for managing how comments are displayed and when.
To display comments on a per post basis, open up the post you’d like to enable or disable comments on by clicking Posts > All Posts in the left-hand sidebar in your Dashboard. From here, click on either the title of the post or the Edit link beneath the post to view the edit screen.
Once you’re there, locate the tab toward the top right-hand side of the page labeled “Screen Options.” To display the options for toggling comments on/off, make sure the box next to “Discussion” is checked. This will reveal an additional box in the editor below labeled “Discussion.”